 |
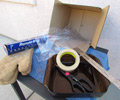
1. Gather
your materials. You need: a box, some gallon
clear plastic bags, masking tape, aluminum foil, scissors, a ruler and oven
mitts. Paper clips are optional, but may come in handy for adjusting the
angle of the top. |
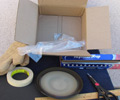 |
2.
A glass pan or plate is also needed.
Any pan will work, but darker colored ones help absorb the
heat and may cook the food faster. |
| |
|
|
|
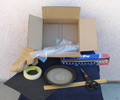 |
3. Something
black will help too. A black cloth, black paper
or black foam is an important ingredient to help absorb heat from the sun.
Do NOT use a black plastic garbage bag as the high cooking temperatures will
melt it. |
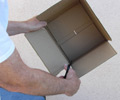 |
4. Cutting the
box. Be careful with scissors or ask an adult to
help you. |
| |
|
|
|
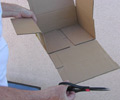 |
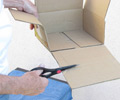
5. Cut on
two sides. Cut your box in two places to create
a flap where you can have an easy opening into the cooker. |
 |
6. Cutting off
some excess. You can either fold part of the
flap under or cut about half of it off. |
| |
|
|
|
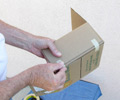 |
7. Tape
the side flaps down.
This will add some insulation to keep more of the heat in
the cooker box. |
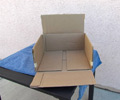 |
8. Box is ready
to add more materials. |
| |
|
|
|
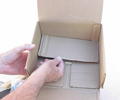 |
9. Put
extra cardboard in the bottom. Put in one or
more layers of cardboard pieces to provide insulation for the bottom of your
cooker box. Insulation is important to keep the heat in the cooker. |
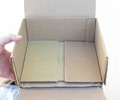 |
10. Final layer
of cardboard. Add some foil to the front flap
before inserting your black material. The foil acts to reflect the
sun's heat into the box. The black fabric, paper or foam will absorb the
heat. |
| |
|
|
|
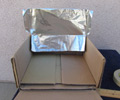 |
11. Add aluminum foil to
the back of the box. |
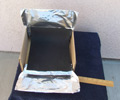 |
12. More foil and something
black. |
| |
|
|
|
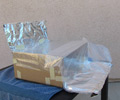 |
13. Cover the top with
plastic. For a small box, 2 one-gallon sized clear bags will cover the
top and the front opening. Tape the sides, leaving the front untaped
so you can put in your nachos. |
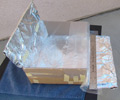 |
14. Use a ruler to seal the
cooker. The ruler may be easily removed to allow the plastic to be
lifted in the front to put in or take out the nachos. |
| |
|
|
|
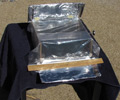 |
15. Cooker is assembled!
Place the cooker in the sunlight and let it warm up for 10 minutes or so
before putting in your food. Adjust the top flap so that sunlight is
directed into the box. |
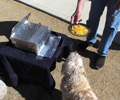 |
16. About helpers.
If you have pets or small children around the house, you may want to put
your cooker up on a small table rather than on the ground or patio floor. |
| |
|
|
|
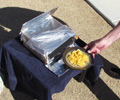 |
17. Put in the nachos! Be
sure your plate or dish fits inside the box you've built.
|
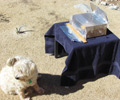 |
18. Somebody should watch the
cooking. You should check on the nachos every 5 minutes or so to see
how well they are cooking.
|
| |
|
|
|
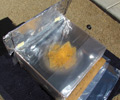 |
19. Now let the sun heat
the box. The ruler will seal your cooker and your nachos will start to
cook. |
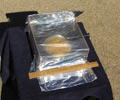 |
20. Be patient. A
solar cooker is not nearly as fast as a microwave. It may take 20
minutes for the cheese to melt. |
| |
|
|
|
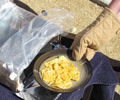 |
21. Putting in another
batch. Use the same plate or dish so it is already warm. Plus -
use gloves to remove the plate. It will be hot. |
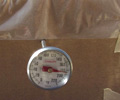 |
22. Your solar cooker can get hot!
During our test, we were able to get the cooker heated to 100 degrees more
than the outside temperature. |
| |
|
|
|
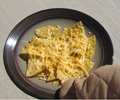 |
23. Finished product! |

The rays of the sun are a
powerful source of energy. The aluminum foil reflects the energy of
the sun into the box. The black material in the box absorbs the rays
from the sun and gets hot. The plastic covering on the box makes a
still airspace in the box so the heat does not escape. The temperature
in the box gets hotter and hotter.
The cooker you made is a very
basic cooker. But there are professional cookers you can buy that will
cook just about anything on a very sunny day. |